PC Turns On But No Display? Complete Easy Fixes Guide
Any PC user knows the moment you hit the power button, you expect an image instantly. We talk a lot about CPUs, GPUs, and power supplies, but we often forget about cable quality and port compatibility. That slim HDMI or DisplayPort cord can make all the difference. A tiny break in the wire or a bent pin hides in plain sight. Ever wondered why a seemingly good cable might be the culprit when everything else looks powered on?
By checking cables and connections first, you save time and frustration. Understanding this step puts you in control, avoids unnecessary part swaps, and helps in making smarter upgrade choices. A small check today can prevent surprises down the line.
Check Power Indicators
Start with the basics. Look at your motherboard LED lights. A steady green or amber light usually means the board gets power. If lights flicker or stay off, the power supply might be at fault. Most desktops have a power LED near the front panel switch. A dead LED often points to a loose front panel connector or a faulty switch.
Listen for beep codes during boot. The motherboard speaker sends short and long tones to signal issues. A single beep often means a successful POST, while repeating beeps or patterns signal memory or video card errors. Refer to your motherboard manual to decode these sounds.
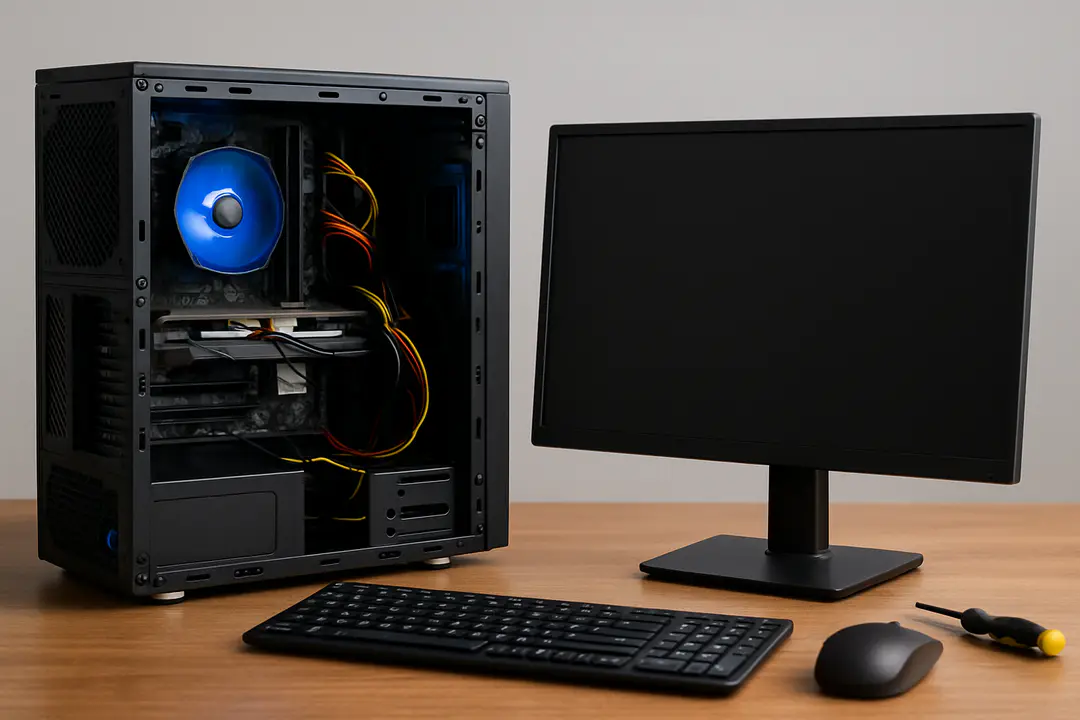
Make sure the power supply cables are securely plugged. The 24-pin main connector must sit flush. Check the 8-pin CPU power plug near the processor. A half-seated connector can power fans yet fail to start the CPU properly. Inspect cables for burn marks or frayed wires.
Testing with a second power supply or a PSU tester can confirm if the unit still delivers steady voltages. A lab-style PSU tester delivers quick readings for +12V, +5V, and +3.3V rails. If any rail is out of spec, consider replacing the power supply to rule out power delivery issues.
Monitor and Cables
Moving on to the display path, your monitor and cables form the highway for data. A broken or loose cable often causes a blank screen even though the PC runs fine. Start by inspecting the cable ends and ports for bent pins or debris.
- Damaged pins: Check HDMI and DisplayPort connectors for twisted or broken pins that block connection.
- Loose connectors: Wiggle the cable gently. Any movement in the port can drop the signal.
- Incorrect port use: Some GPUs have multiple outputs. Try a different port or a DVI-to-HDMI adapter if needed.
Swap the cable with one you know works. If you borrow a cable from another system and the image appears, you’ve nailed the culprit. Testing with different monitors can also help. If another monitor still shows nothing, narrow the issue back to the PC’s video output.
Some monitors let you switch inputs manually. Make sure the monitor input setting matches the cable. If it’s set to VGA but your PC uses HDMI, you’ll see a “No Signal” message or a black screen.
GPU Connections
The graphics card sits at the core of video output. Even a slight misalignment in the PCIe slot prevents a display. Start by removing the GPU and reseating it firmly. Make sure the locking tab clicks into place.
Check that any auxiliary PCIe power connectors from the PSU are plugged into the card. Many mid- to high-end cards need one or two 6-pin or 8-pin connectors. A missing plug can power fans but fail to start the GPU chip itself.
Stay aware of latest graphics trends. Drivers and new hardware can change connector standards. If you’ve upgraded your GPU recently, inspect ports on both card and monitor for support of HDMI 2.1 or DisplayPort 1.4.
If your motherboard has an onboard video port, remove the GPU completely and connect the monitor to the built-in connector. If you get an image here, the problem likely lies in the add-in card.
BIOS and Memory
At times, memory or BIOS settings block the display. Corrupted BIOS settings after a failed update can disable the video output. Resetting CMOS clears custom settings and can restore the image.
- Power off the PC and unplug it.
- Locate the CMOS battery on the motherboard and remove it for 10 seconds.
- Reinsert the battery and power on the PC to load default BIOS settings.
- Access BIOS by pressing the key shown on startup (often Del, F2, or F10).
- Load optimized defaults and save changes.
Faulty RAM modules also stop POST before video initialization. Remove all sticks and test one memory module at a time in the primary slot. Swap modules and slots to pinpoint a bad stick or slot. Replace any suspect RAM to ensure a clear boot.
Software and Drivers
Sometimes the hardware is fine but your operating system fails to show an image. Booting into safe mode can rule out driver conflicts. In Windows, repeatedly pressing F8 or holding Shift while selecting Restart takes you to recovery options.
Update or reinstall your graphics driver. Use official Microsoft resources or your GPU maker’s site to download the correct package. Remove old drivers completely with a cleanup tool before installing fresh ones.
If you installed new software that coincided with the blank screen, consider using system restore to roll back to an earlier point. Keep your OS updated. Sometimes a major Windows update resets display settings.
As a final software step, boot from a USB live Linux image. If the display works in Linux, you’ll know the issue lives in your OS installation rather than the hardware.
Your display should be back by now. If not, it’s time for professional help.
Conclusion
Tracing a no-display error can feel like detective work, but systematic checks often lead you right to the cause. Start with the power lights, then verify cables, GPU seating, BIOS settings, and software layers in turn. Each step narrows down possibilities.
Keeping a log of what you’ve tested saves time and prevents redundant work. Small details, like a bent pin or a missing power connector, make a big difference. With patience and a clear plan, most blank-screen issues resolve before you swap out expensive parts. Now you can face your next PC hiccup with confidence.